How to Clean Your Dab Rig And Keep It Clean
Posted by Jack Daniel (Edited by Jay Dreadhead) on 4th Jul 2017
When your bong or bubbler starts to get especially dirty, it will often let you know by giving off an unpleasant odor even when it is just sitting around, and will even affect the flavor of the herbs you are puffing on. God forbid you spill that disgusting water on yourself or your carpet. But, too many dabbers are letting their dab rigs go far too long between cleaning and water changes. Maybe it is because the golden residue, or reclaim, that coats the inner walls of the chamber of the rig is not nearly as offensive looking or smelling as the blackish resin left behind in bongs and bubblers. Glass cleaning and maintenance is just as crucial for your dab rig as it is for your flower piece, and this guide will break it down for you.
Recommended Products
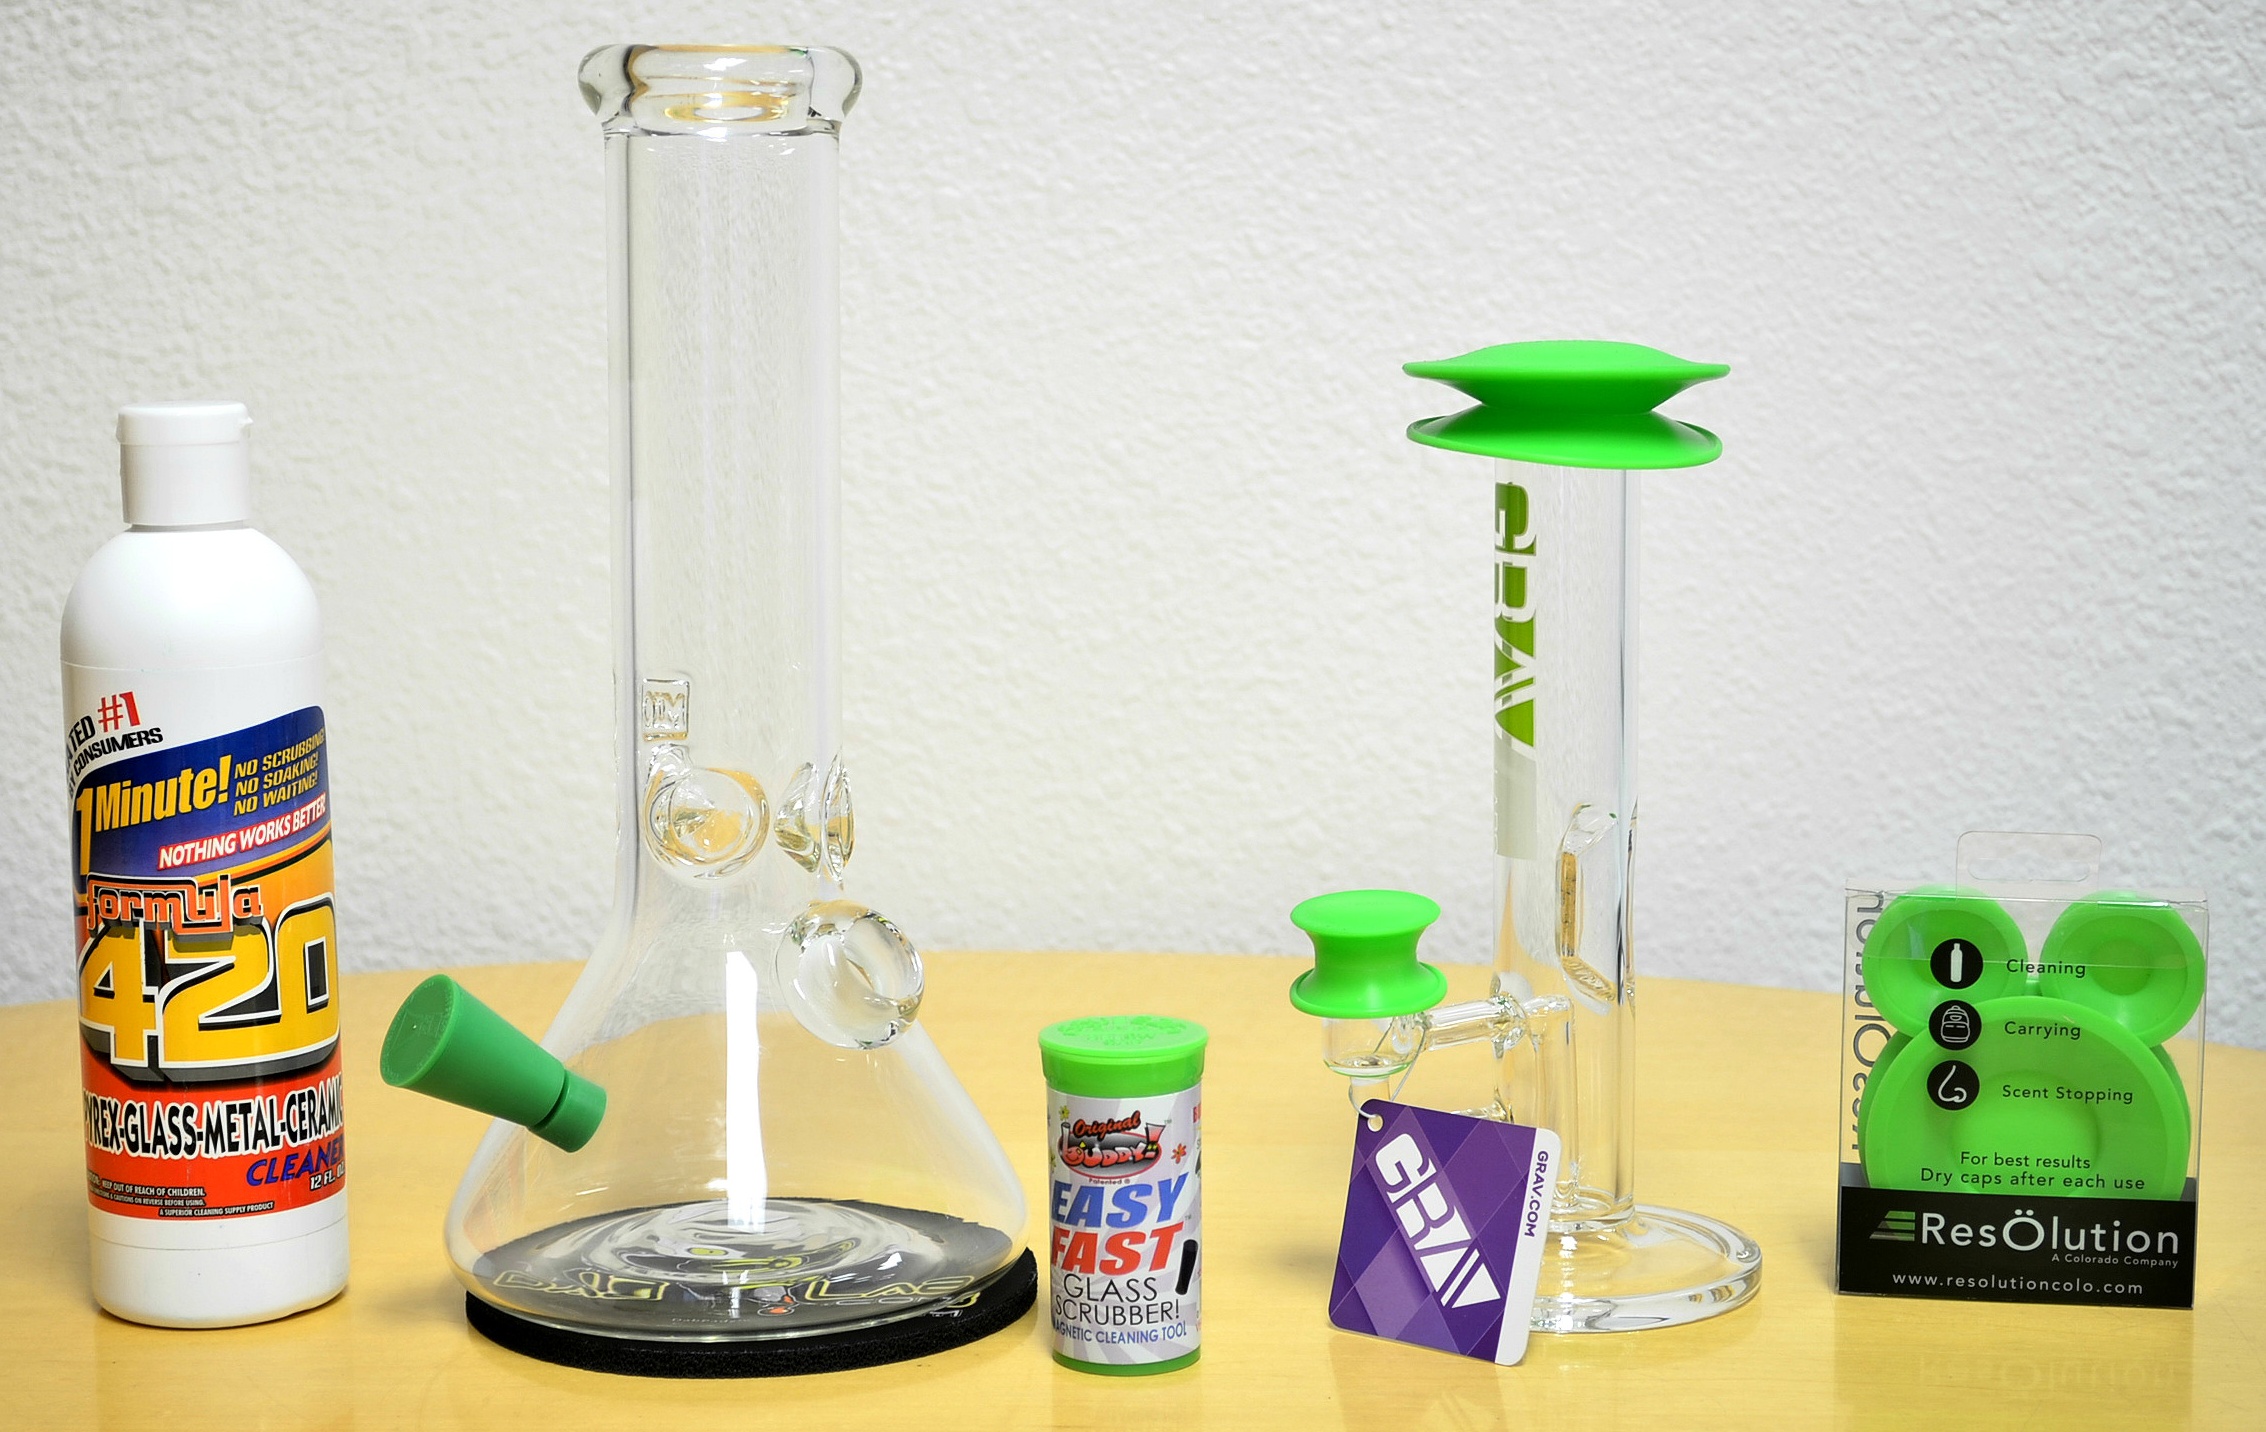
- Resolution Silicone Cleaning Caps
- Nylon Pipe Cleaners (assorted sizes)
- Dark Crystal Cleaning Solution
- Grunge Off Super Soaker Glass Cleaner

The Simple 5 Step Process to Keep Your Dab Rig Sparkling Clean
1. Dump out your dirty water. Replace it with clean, warm water, swish it around a bit, and dump that out. Try filling from both the mouthpiece and then from the joint or downstem. You can repeat this if necessary, but the real action begins with the next step of the process.
2. Pour out all the water and add your cleaning solution. Of course we know that plenty of people still use rubbing alcohol and maybe some salt to clean their glass, but we are here to tell you that you do not need to use such harsh products. Dark Crystal Cleaning Solution, for example, is 100% organic, made from plant materials. It can be heated up before use to tackle stubborn gunk, and is reusable over and over again. The Grunge Off Super Soaker is a best seller here at The Dab Lab as well, and Formula 420 has been around for over 20 years! It simply would not have made it this far if it didn’t get the job done. These products were formulated specifically for cleaning glass, and they work.

3. Shake it up! Unless you have some really heavy caked on build-up inside your dab rig, you should not need to let your cleaning solution soak for very long. Instead a gentle agitation or shaking should swish the cleaner around enough to clean the entire chamber of the rig. Here is where the brilliantly simple product Resolution Cleaning Caps come in so handy. These universal fit silicone caps sit snugly over the mouthpiece and joint of your dab rig after you add your cleaning solution, providing an airtight seal and allowing you to turn your rig upside down and shake to your heart’s content without fear of spillage. Particularly stubborn spots can often be reached with a nylon pipe brush – we’ve got a variety of sizes at rock bottom prices to help you keep your glass looking new.
4. Once all reclaim is dislodged and swirling in the cleaning solution, dump it all out and repeat the process from the very first step. If your glass is still a bit hazy, add a splash of fresh cleaning solution and one or two more swirls should clear it right up, then dump that out and give a final rinse with fresh filtered water.
5. If you plan to use the rig again right away, fill it to your desired level with fresh, clean, cool, filtered water. If you just plan to store it for anywhere from an hour to a year, leave it dry and just add that filtered water right before the next dab sesh. Filtered water is always recommended over spring or tap water which can leave unsightly water stains on your glass that can be hard to then get rid of. Leaving water (especially dirty water) in your dab rig for too long runs the risk of mold spores growing inside the rig, which is obviously unsafe as well as disguuusting! Change that water, clean that rig!

This basic 5 step process to clean your dab rig really is that easy. The cool part is, if you do this routinely, it just gets easier as reclaim and dirty water never has a chance to stick around!

